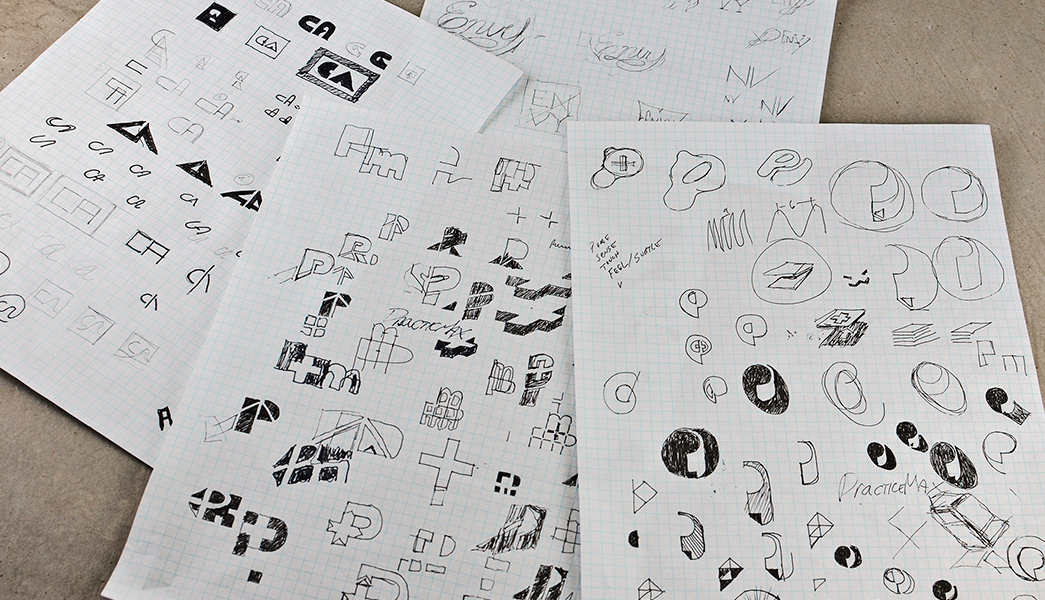
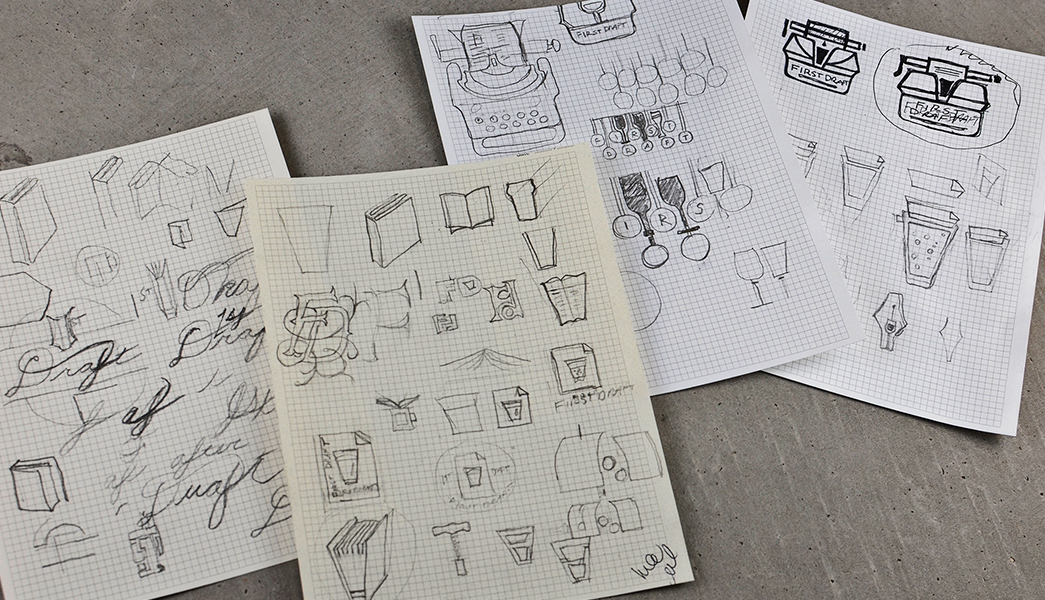
Typically after we meet with a client about a logo design project, we’re pretty excited to get started working on it right away. The temptation to jump right on the computer to start setting type and making shapes is huge. Sometimes that works out, but the best way is still to grab a pencil & paper and get a lot of ideas down quickly.
After some initial research and kicking around some general ideas of what the logo should and shouldn’t do, it’s time to get your hands dirty. Grab a small notebook or some grid paper and start making some marks! Start by playing with the name of the company, just writing the name out in all caps, lower case, jammed together, initials, stacked etc. Sometimes it’s easier to work with the typography first if you’re unsure of what type of mark you’re after.
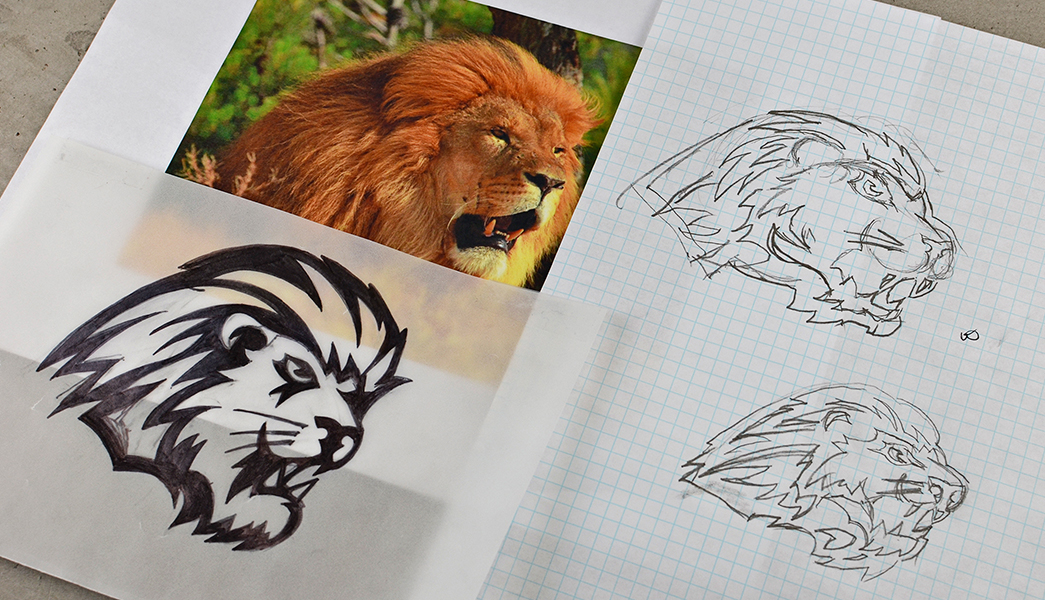
When designing something iconic and recognizable, use some photo reference to make sure you’re getting the look and proportions correct, even if it’s a very simplified version. Make lots of quick, small thumbnails and then refine the ones you like into a little bit larger versions. Don’t be afraid to scratch stuff out, and erase things.
Make your sketches as detailed as necessary for you to start transferring them to the computer. Some times a quick and dirty sketch is enough, and other times you’ll really need to push it pretty far. Scan them or take a quick digital photo and move on to digitizing.
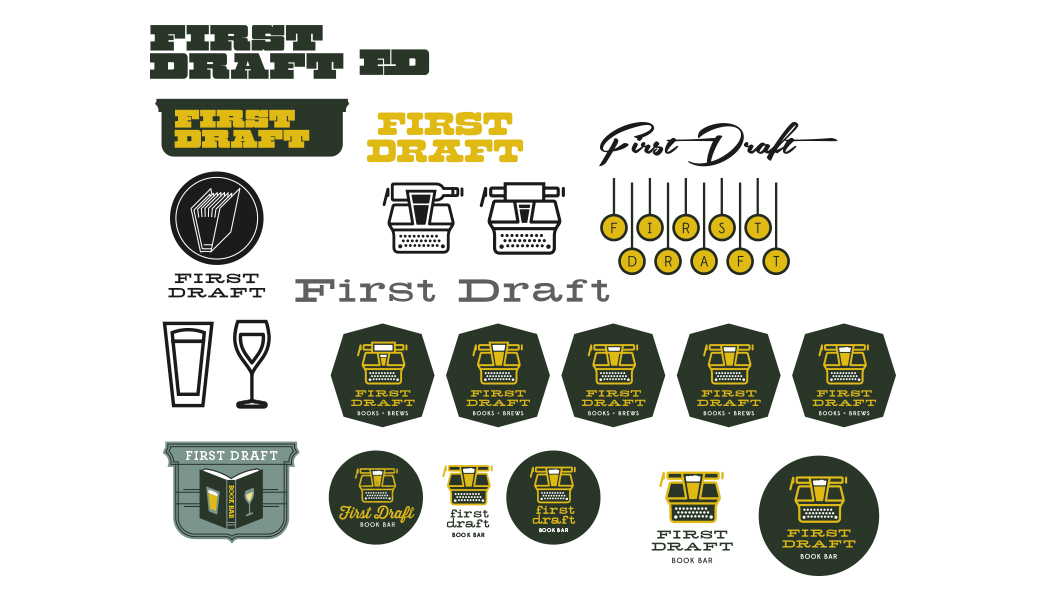
As you start rendering things on the computer, it’s great to be able to have multiple copies of what you are doing scattered around your document. Treat it like a digital sketch board and make multiple iterations. Keep older versions so you can see what you’ve done, scavenge the good parts and discard the bad.
As you keep refining your ideas, hopefully you’ll end up with 2 or 3 designs that really stand out.
It’s refreshing to step away from the computer and just scratch some things down on paper. It’s fast, cheap and still a great way to start the logo design process.


